Project Creation Guide
Learn how to create and manage projects in CloudCanvas with budgets, cost centers, and tags
ℹ️Prerequisites
Before creating projects, make sure you have already signed in to your CloudCanvas account.
Navigate to Dashboard
After signing in, you'll be redirected to the CloudCanvas dashboard. Click on the "Projects" tab to access project management.
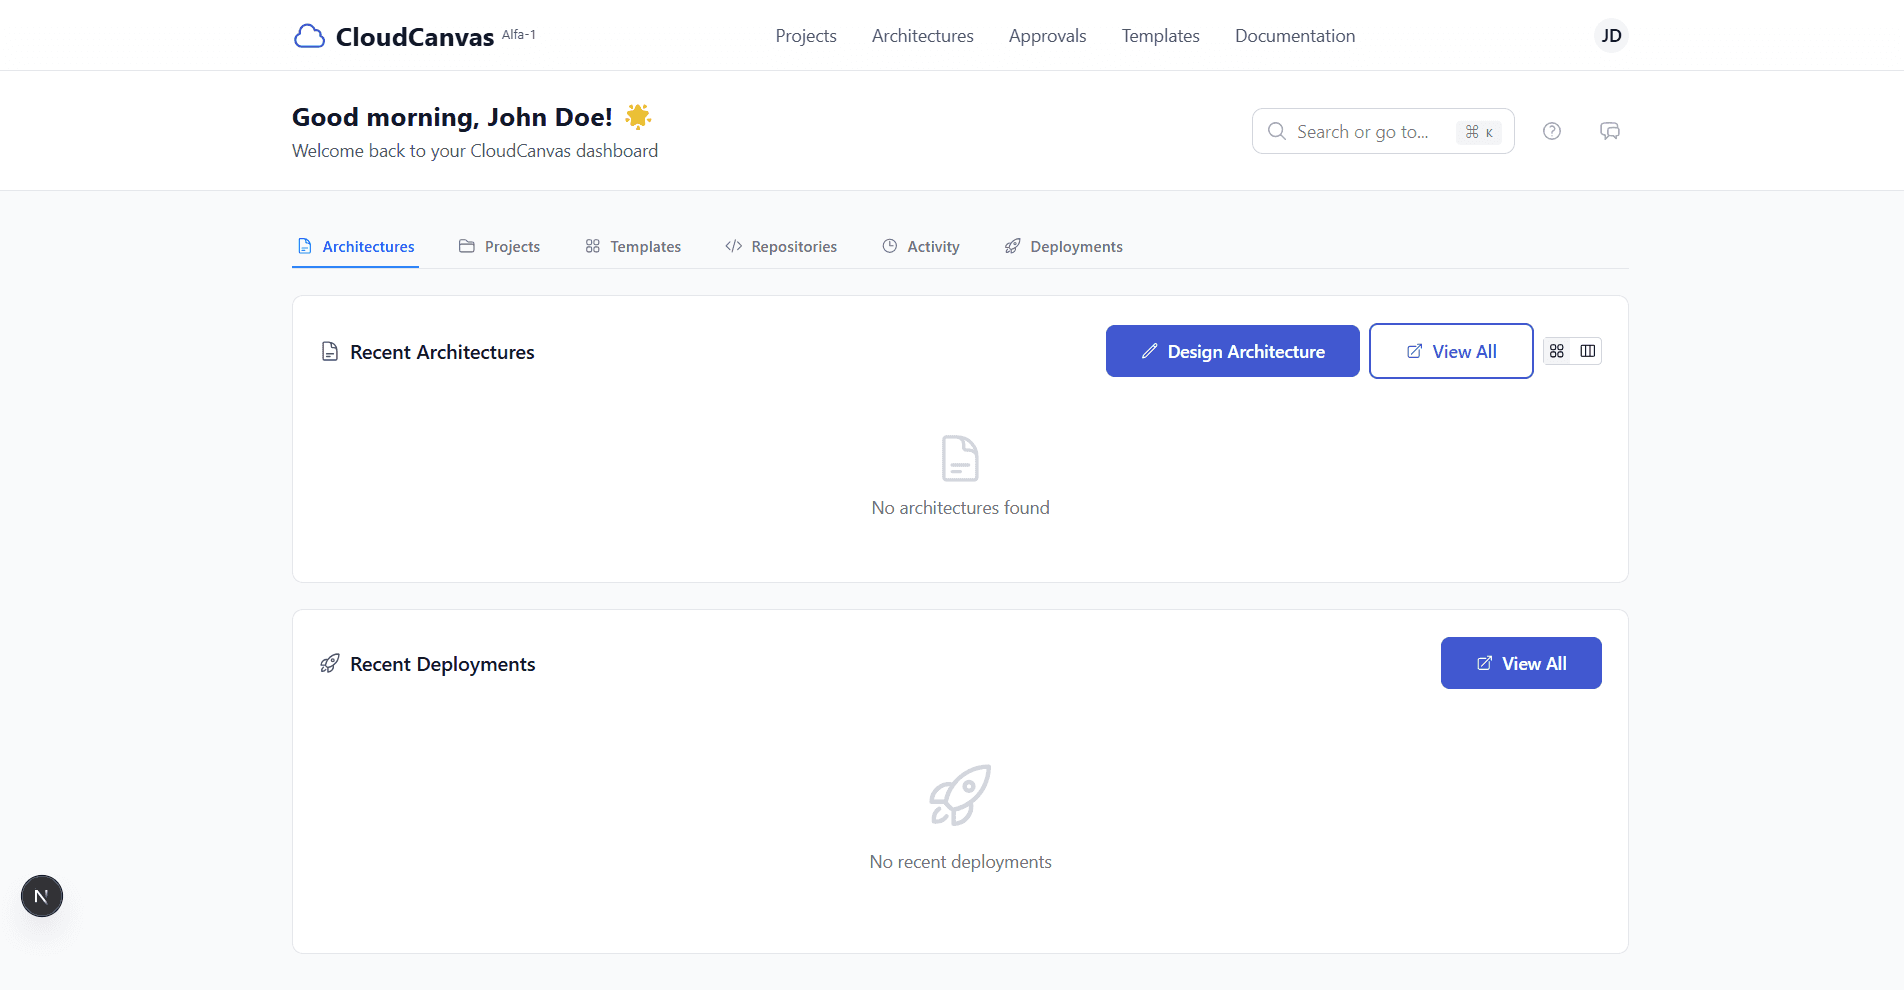
Main dashboard with navigation tabs
Access Projects Tab
Click on the "Projects" tab in the dashboard navigation to view your projects and create new ones.
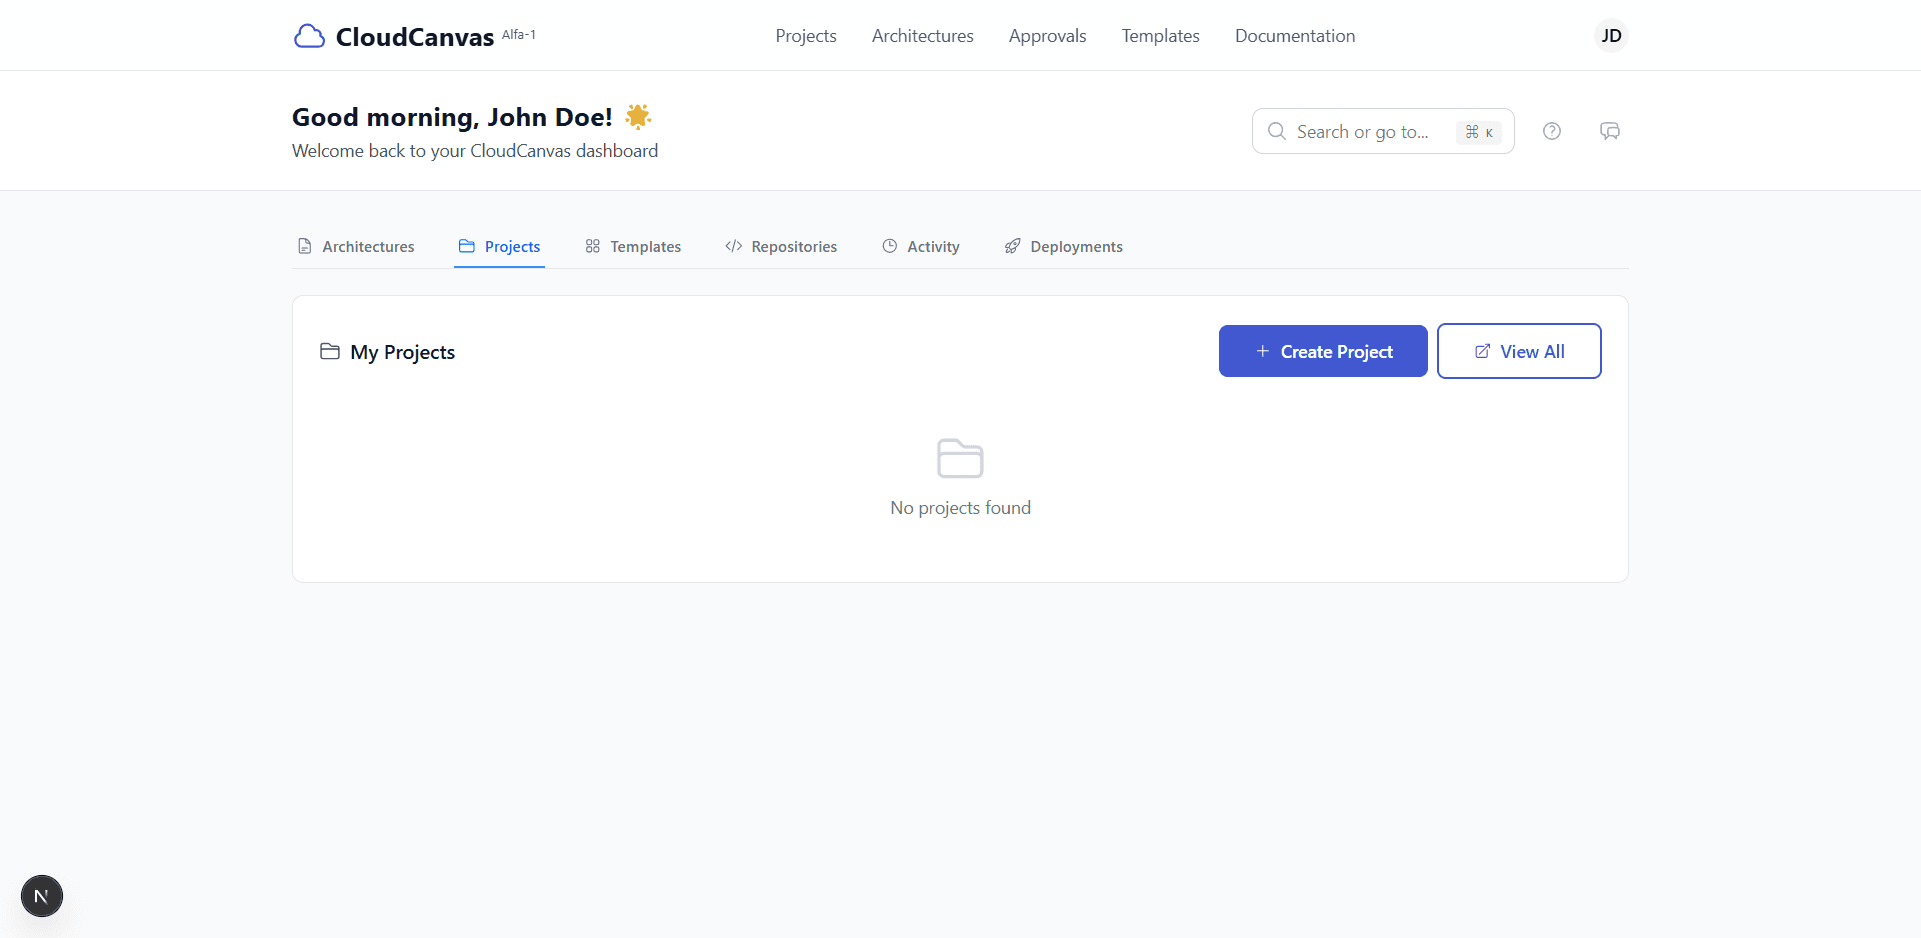
Projects section with Create Project button
Fill Project Details
Click "Create Project" and fill out the project form with the following information:
- Project Name: Enter a descriptive name (e.g., "E-commerce Platform")
- Description: Provide a detailed description of your project
- Budget: Set the project budget in dollars (e.g., $50,000)
- Cost Center Code: Enter your organization's cost center code (e.g., "CC-001")
- Tags: Add relevant tags like "production", "microservices" for better organization
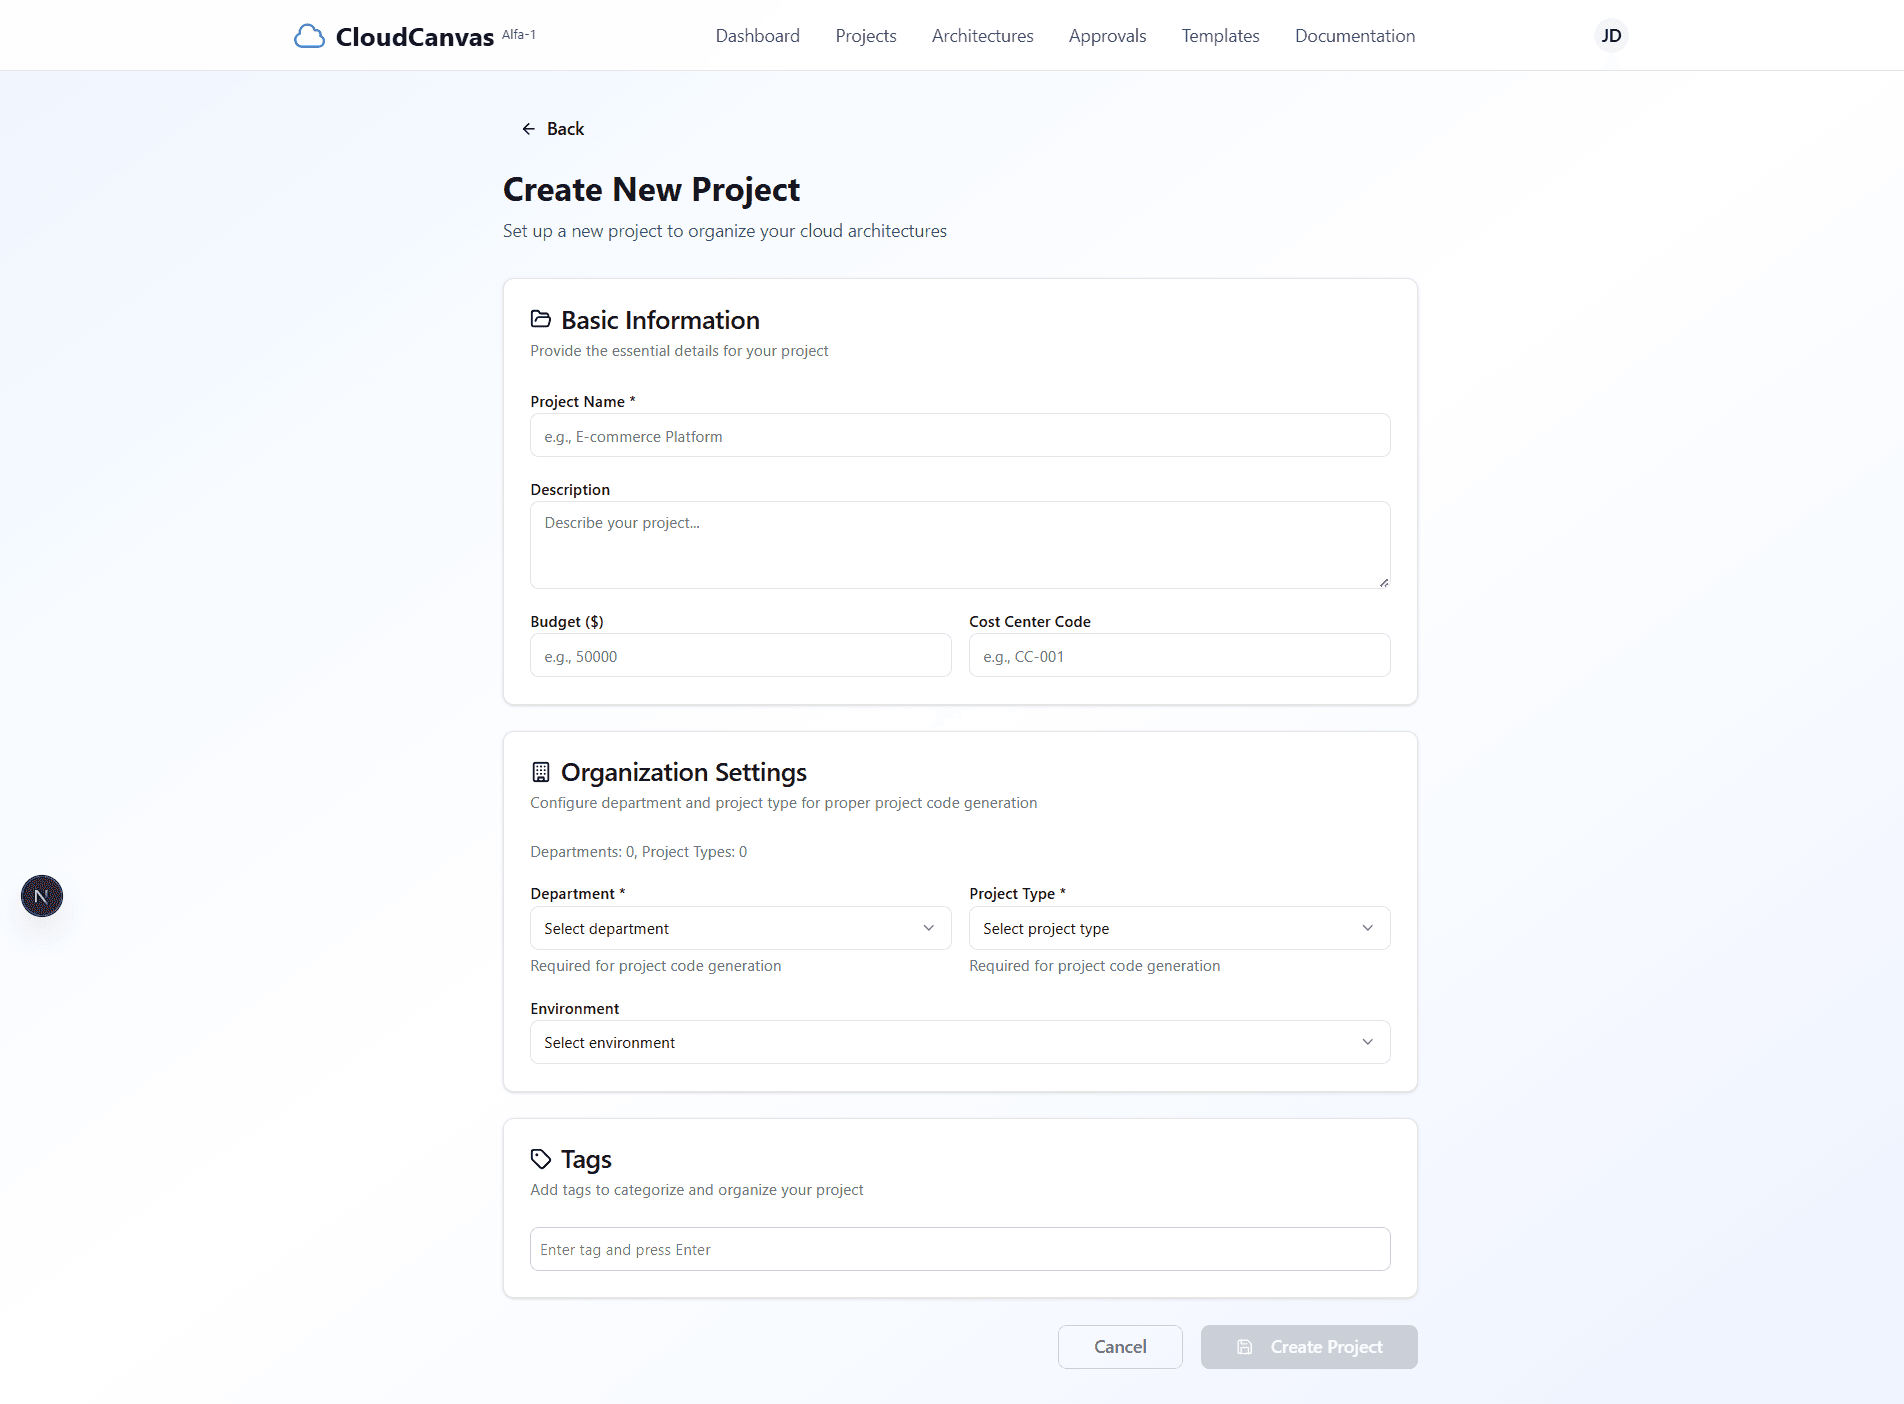
Project creation form with all required fields
Complete Project Creation
Review all entered information and click "Create Project" to save your project.
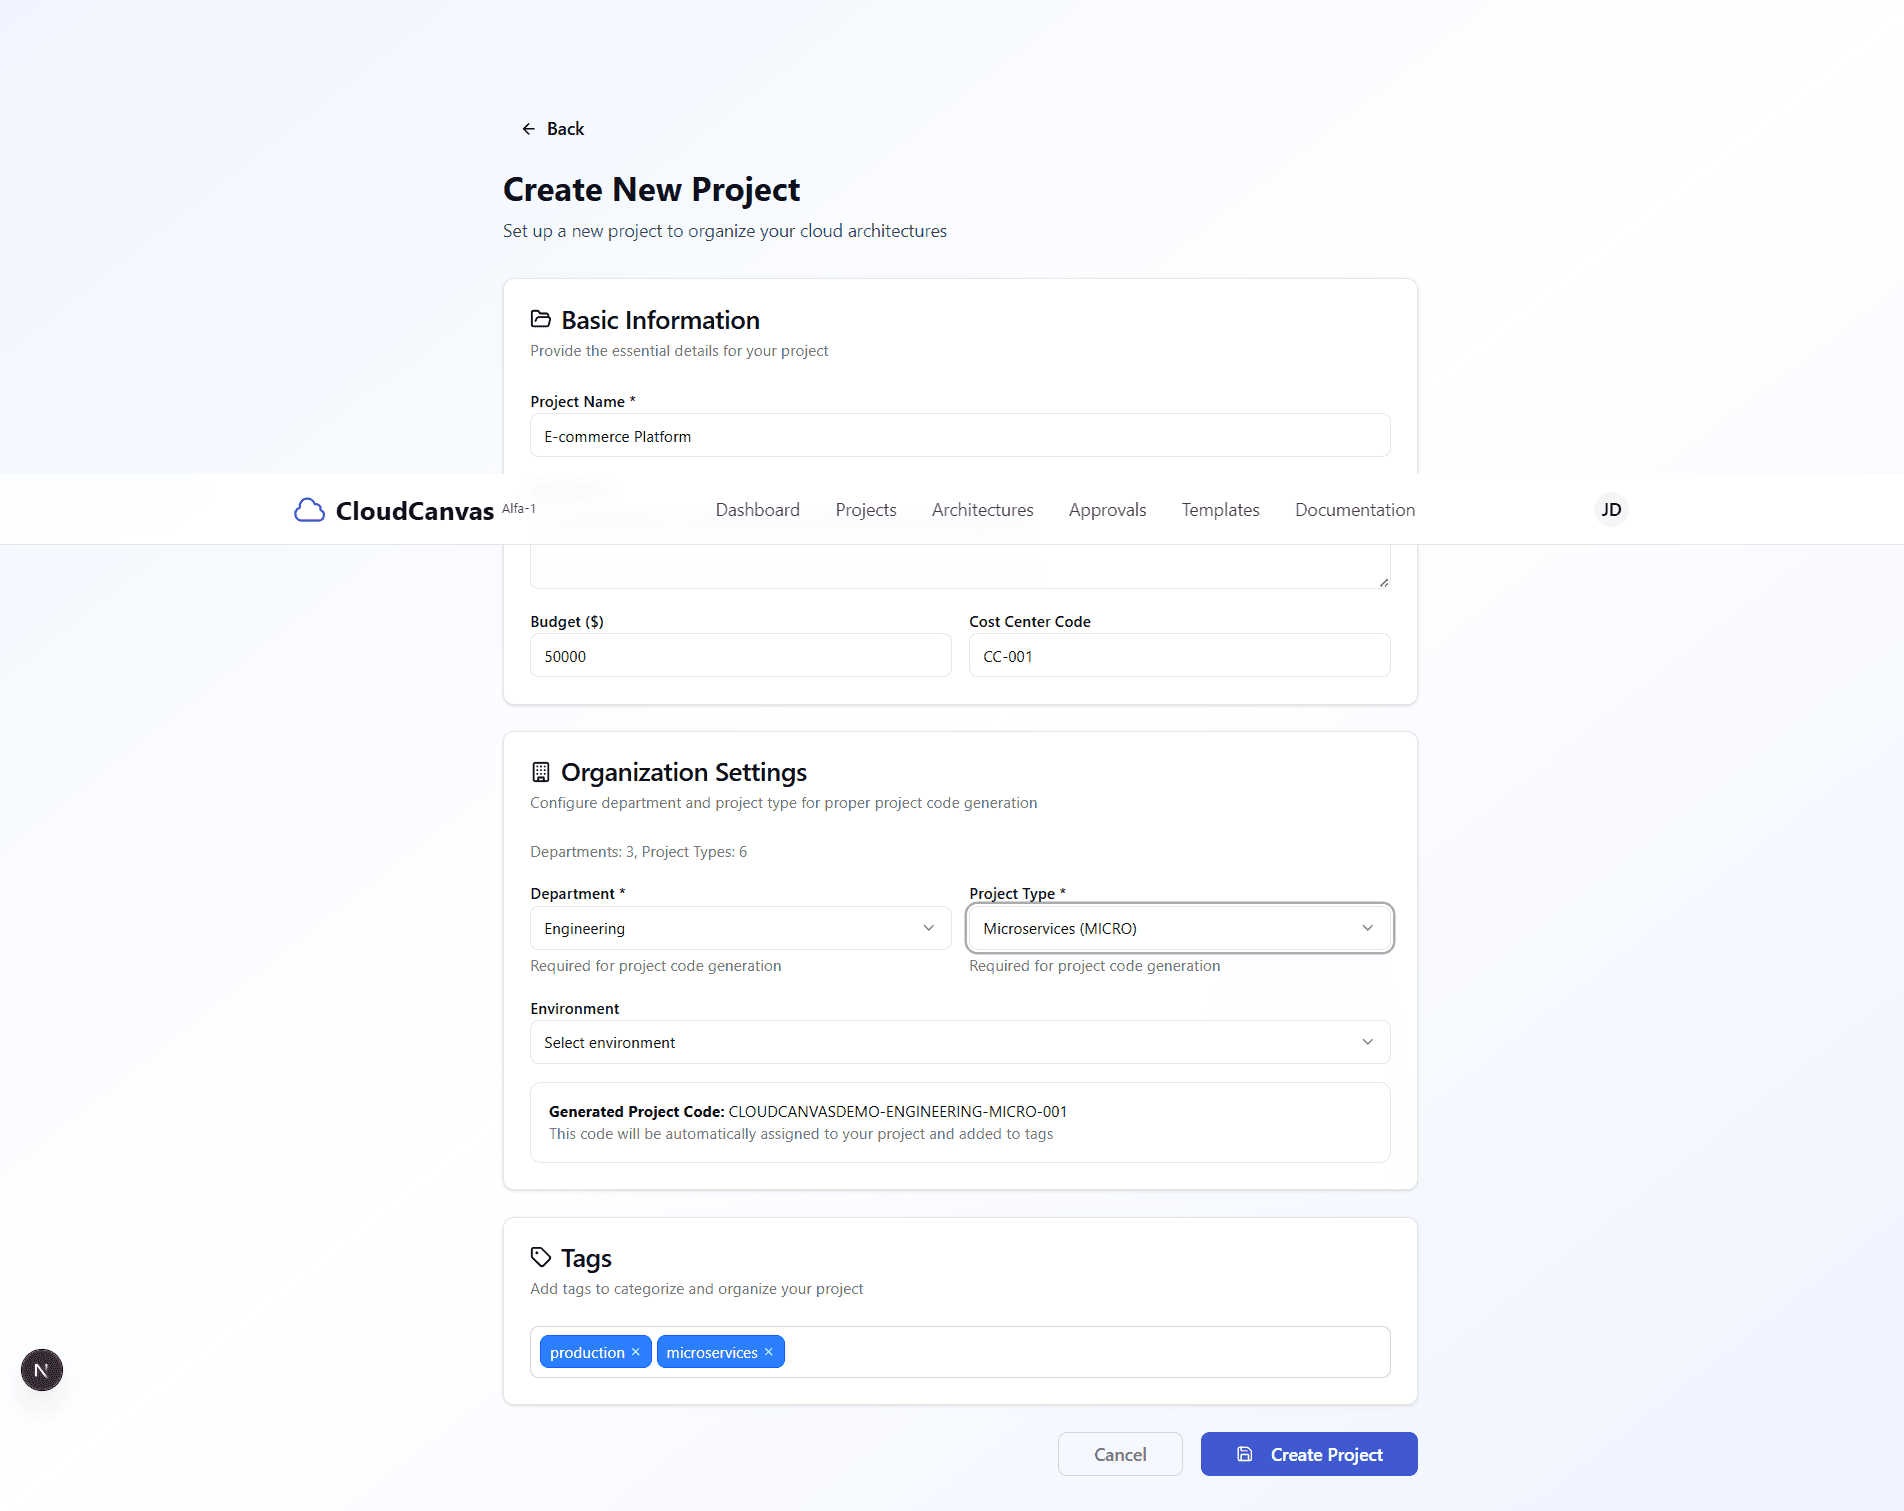
Project form with all fields filled and tags added

Success notification and updated dashboard
Project Management Features
Budget Tracking
Set and monitor project budgets with cost center integration for financial oversight.
Tagging System
Organize projects with custom tags for easy filtering and categorization.
Project Organization
Group related architectures and resources under a single project umbrella.
Cost Center Integration
Link projects to organizational cost centers for accounting and billing purposes.
🚀 What's Next?
Now that you've created your project, you can start designing cloud architectures and setting up repository integration!